Today I made several different shades of paint from red sandstone.
When I make a paint from a pigment-rich stone, like this one, rather than waste what is left on the plate after mulling and scraping up the paint, I’ll add either calcium carbonate (white white) or one of my other pigments to create a blend.
The Process
Making Paint from Red Sandstone
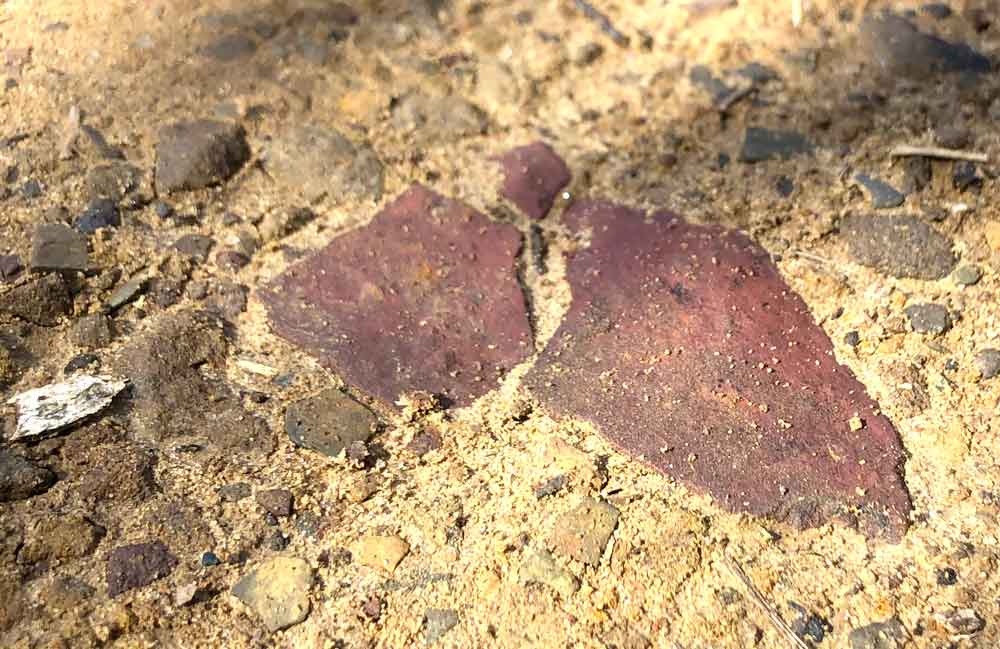
Find the red sandstone
First, I gathered the rock. Here’s how this stone looks if it’s on the ground. They’re easiest to see when damp, so most often I’ll get them out of the creek.
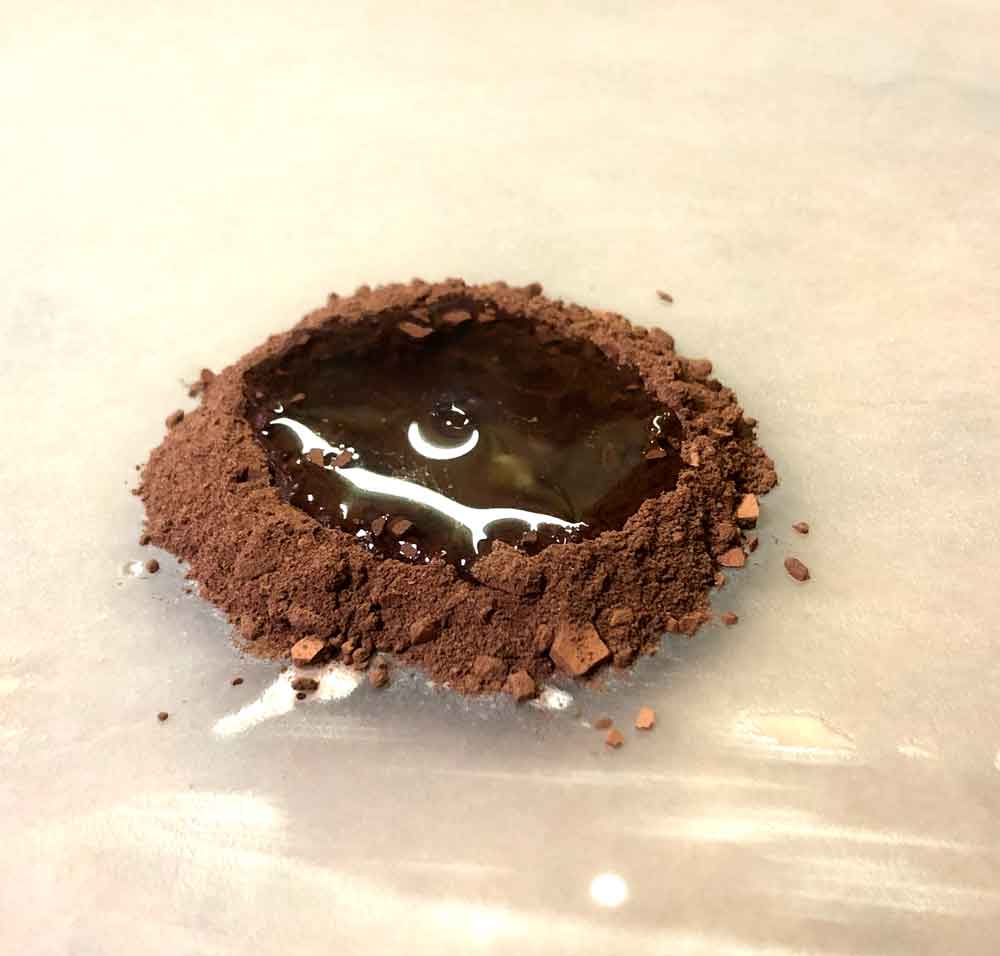
Grind the rock
I ground the rock up with a mortar and pestle. If I’m starting with a rock larger than a marble, I’ll first break the rock into smaller pieces with a larger rock. I do that part outside.
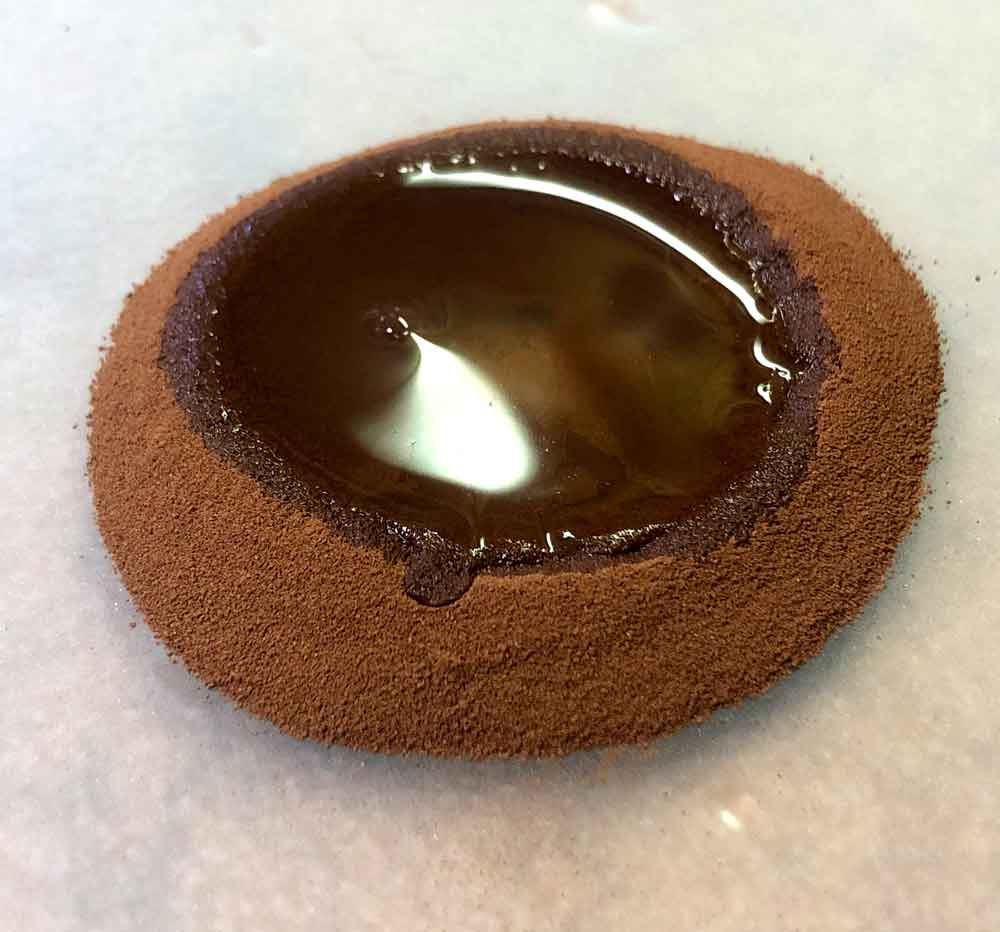
Wash the pigment
Once the rock is ground, I’ll add it to a quart sized jar and fill the jar with water. When there’s a lot of pigment present, the water will be a strong color. If the water clarifies quickly, then I don’t separate it and will just pour the water off and dry the pigment that has settled.
To separate, pour off the colored water into small jars and leave the heavier part (the ‘heavies’) in the original jar. Then let it settle. These are what I call the ‘lites’ or ‘lights’. If there is still a lot of color in the water after fifteen or thirty minutes or so, I’ll pour it off again into more small jars and let that part settle separately. I call that part ‘lite lites’. The heaviest portion that is left in the jar after pouring off the color water is what I call ‘heavies’.
Remember to label everything. Otherwise you’ll have a hard time remembering what is what when you get ready to start making the paint.
Why bother washing?
Heavies, Lites, and Lite Lites will often yield enough difference in shades to make it worth the effort. Sometimes it doesn’t. The red sandstone usually does. Aside from the difference in shade of color, there is a difference in texture. Heavies of any pigment are generally grittier and lites are always very smooth.
Dry the pigment
After the sediments have settled and the water is clear, pour off the clear part and keep the sediment. That is your pigment. Let this dry. I use a desiccator for this sometimes.
Sieve or grind
Once the pigment is dry it may need to be ground up more in the mortar, or if it’s a solid cake (the lites do this), you’ll need to break and sieve it so that there are no clumps when you begin the mulling.
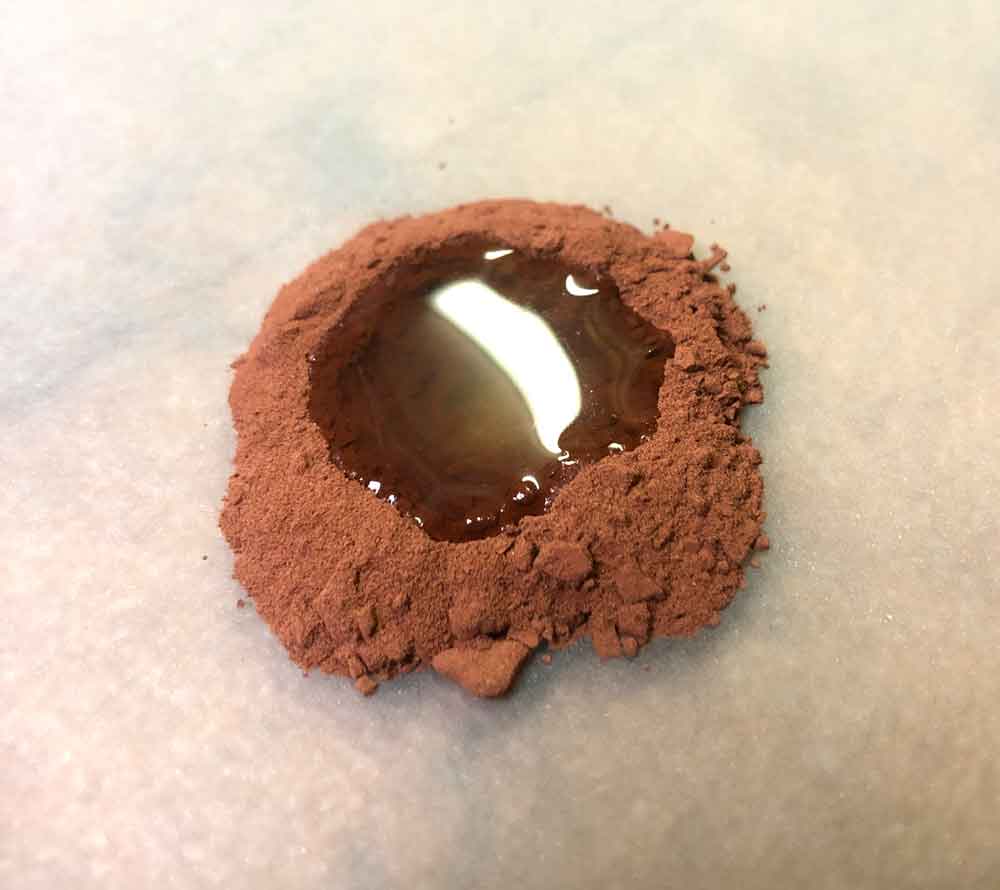
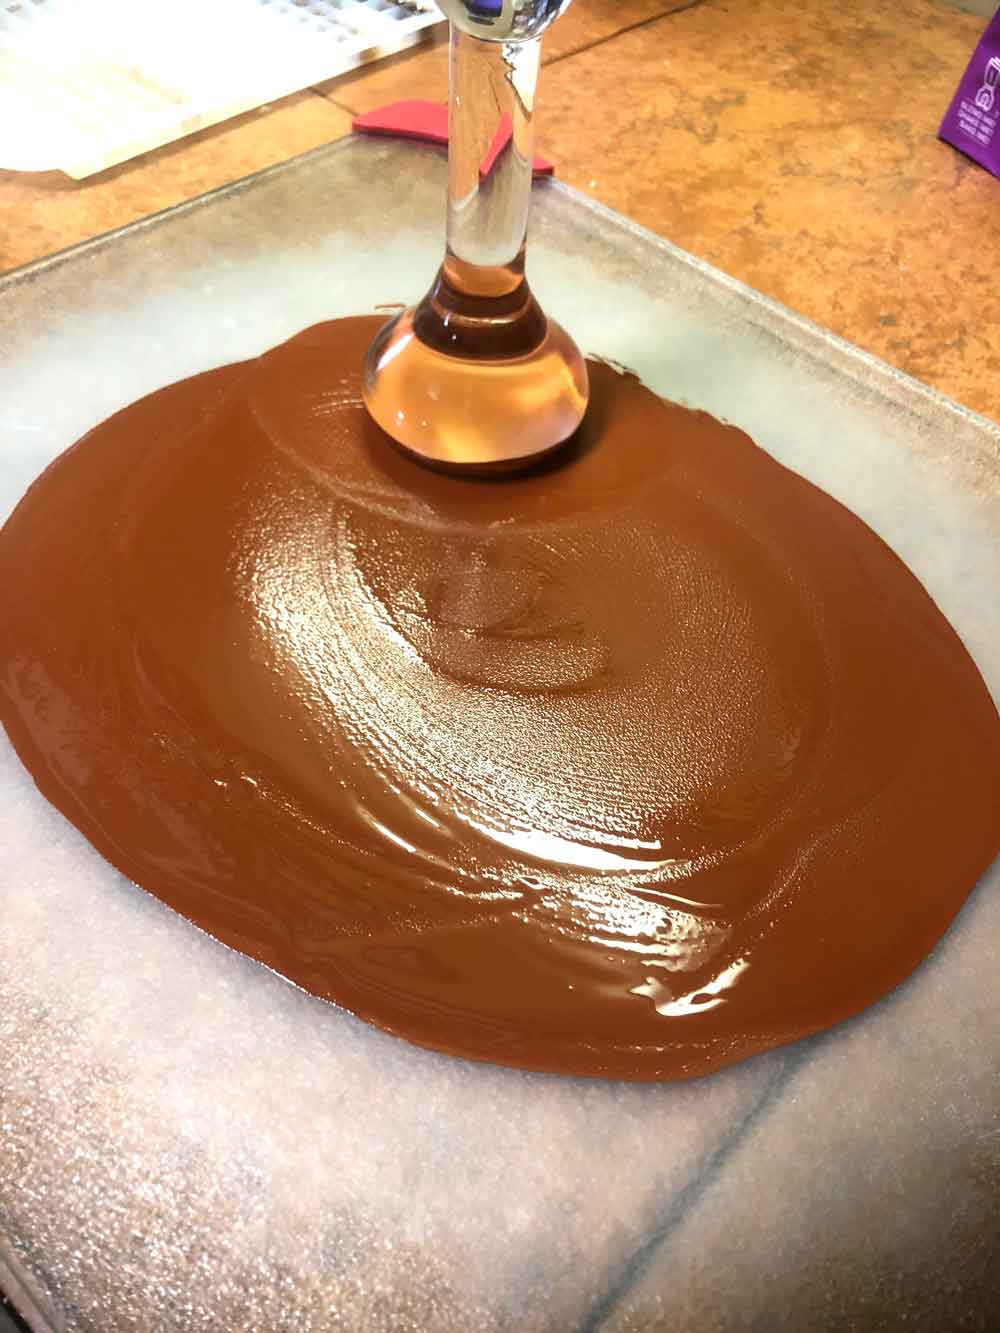
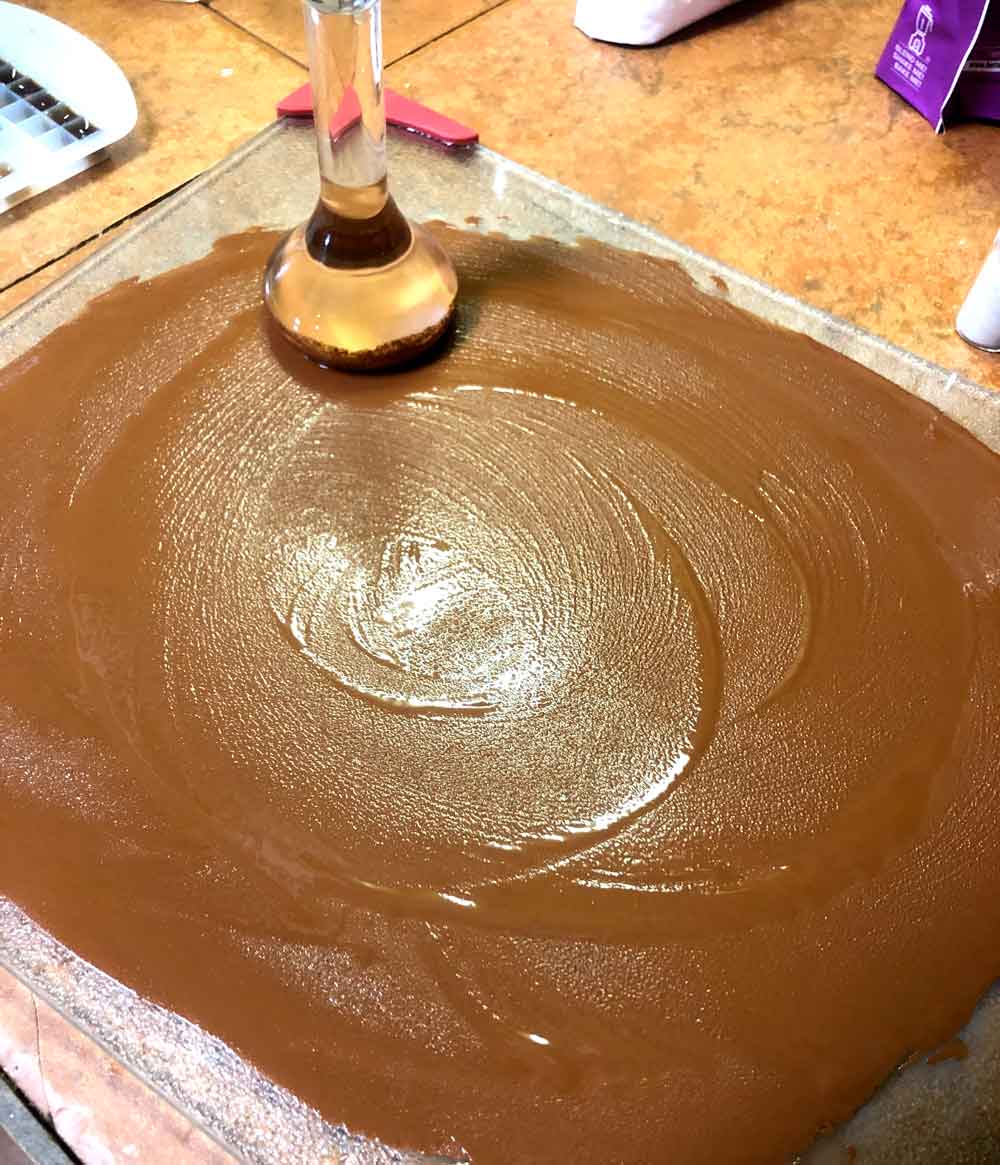
Mull the paint
This is assuming you’ve already prepared your media. There’s no method to my madness in the order I made the paint, but I started with the ‘lite lites’.
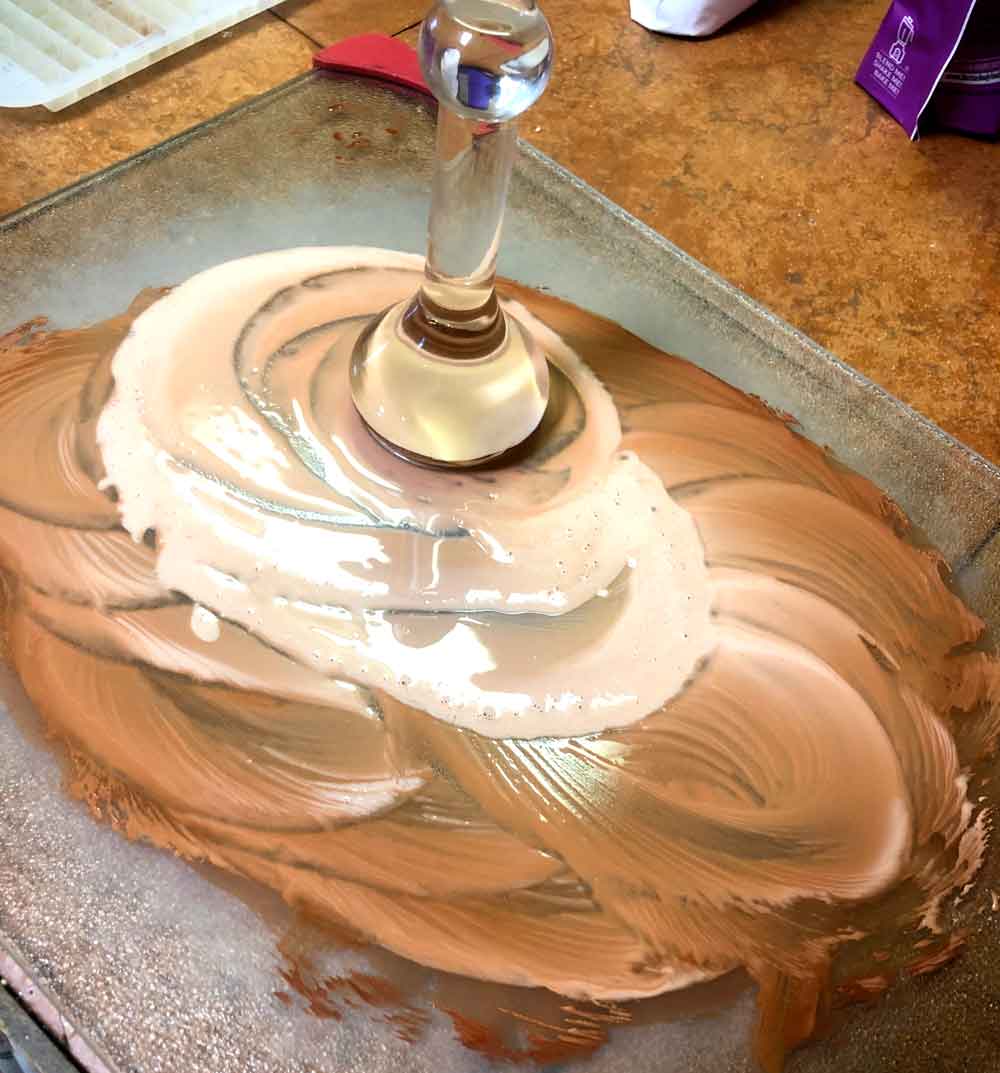
Once I’d scraped all I could off of the plate, there was still a lot of color left behind. This particular pigment is so pervasive it almost stains the glass. So to avoid washing it down the drain, I’ll add a teaspoon or so of calcium carbonate (or washed native limestone) and use it to pick up the rest of the color.
Rinse and Repeat to make more shades of paint from red sandstone
I followed the same procedure for the other two fractions (heavies and lites). But instead of using only the calcium carbonate at the end after scraping the plate as clean as I could, I added some of my other pigments. To the lites I added a yellow lites. And to the heavies I added pink lites.

Red Sandstone Paint Swatches
The Finished Paints

Sometimes I have paints available for sale, but I always am ready to gather rocks if you’d like to order a box of rocks to try your hand at making paint with Ozark pigments!
Contact Mad Rox: (479) 409-3429 or madison@madisonwoods and let me know which hat I need to put on 🙂 Madison for art, Roxann for real estate, lol. Or call me Mad Rox and have them both covered!
***
Author/Artist Info
________________________________
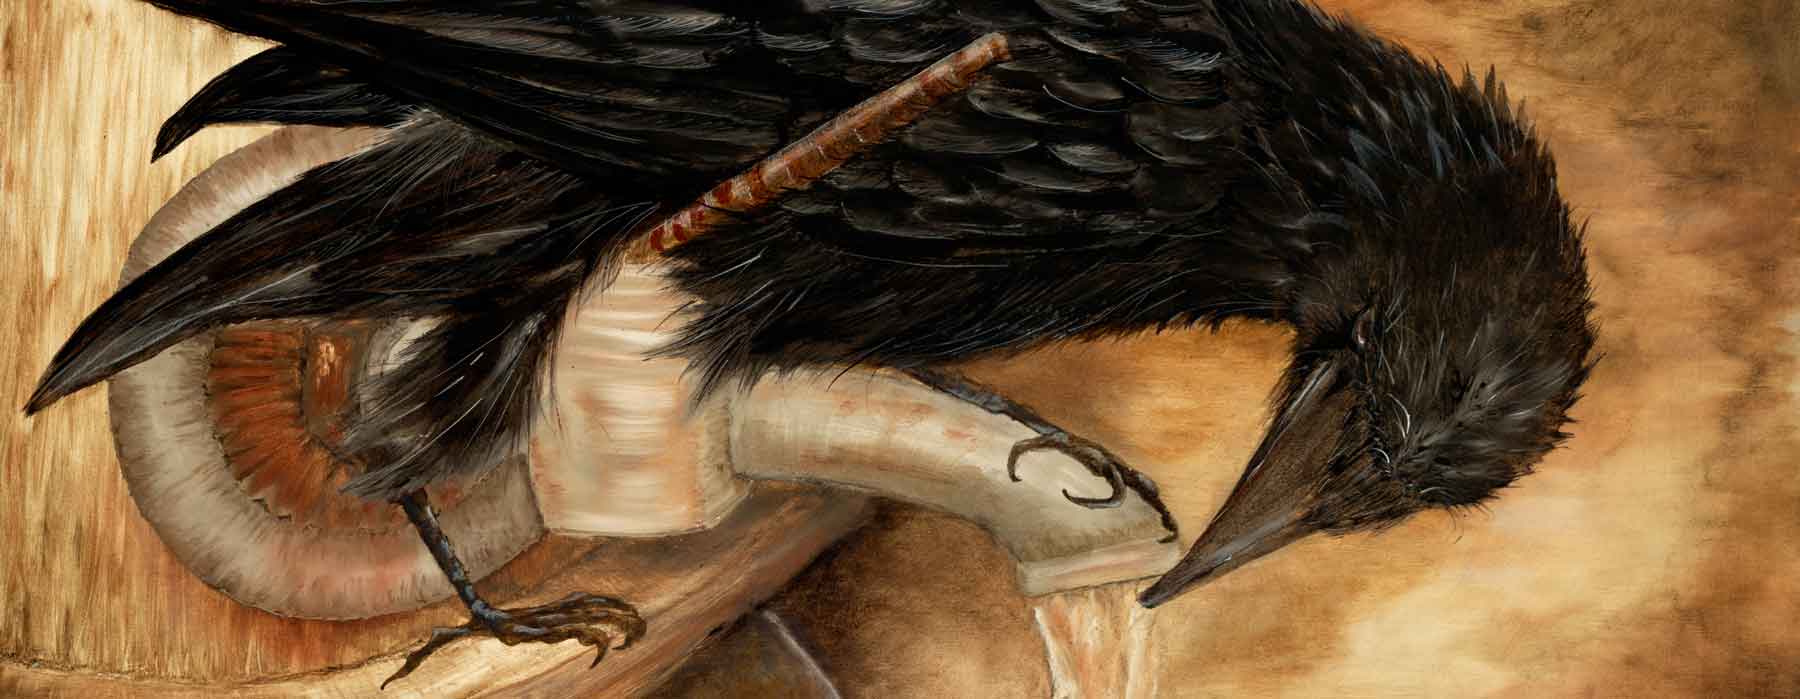
Roxann Riedel is a salesperson for Montgomery Whiteley Realty, artist, owner of the only ginseng nursery in Arkansas, and the author of books and this website. Madison Woods is the pen-name she uses for her creative works. She’s a self-taught artist who moved to the Ozarks from south Louisiana in 2005. Her paintings of the Ozark-inspired scenes feature lightfast pigments from Madison county, Arkansas. Her inspiration is nature – the beauty, and the inherent cycle of life and death, destruction and regeneration. Wild Ozark is also the only licensed ginseng nursery in Arkansas. Here’s the link for more information on the nursery
There’s always a discount for paintings on the easel 😉
Online Portfolio
Click here to join her mailing list.
LIKE & SUBSCRIBE ON YOUTUBE
https://www.youtube.com/@wildozark